Adding a scalloped edge to a dress
As promised, here is my first ever tutorial!! Today we will be adding a scallop edge to the bottom of a dress.

Once you have your band cut out, fold it in half lengthwise right sides facing in. Mine was a solid color so it didn't matter.

Before you start tracing your scallops, be sure to mark you seam allowance so that you are not sewing into them. Next find something round to trace. I used a Starbucks lid. It was the perfect size to make an exact number of whole scallops without having too much or too little! I did not plan or measure to make sure it happened, it just worked out. It would probably look best if your scallops begin and end right at your seam marks. Mine also worked out so that I had an even number of scallops so I did not have one folded on the one side. Also, you will notice the three dots on my lid. I made marks to make sure that my scallops were even. The center one is for you to line up on the seam. The other two are where you start and end your scallop. I also did not draw my line right on the fold of the fabric. Leave just a little bit of space since you will be sewing right on the line you drew.
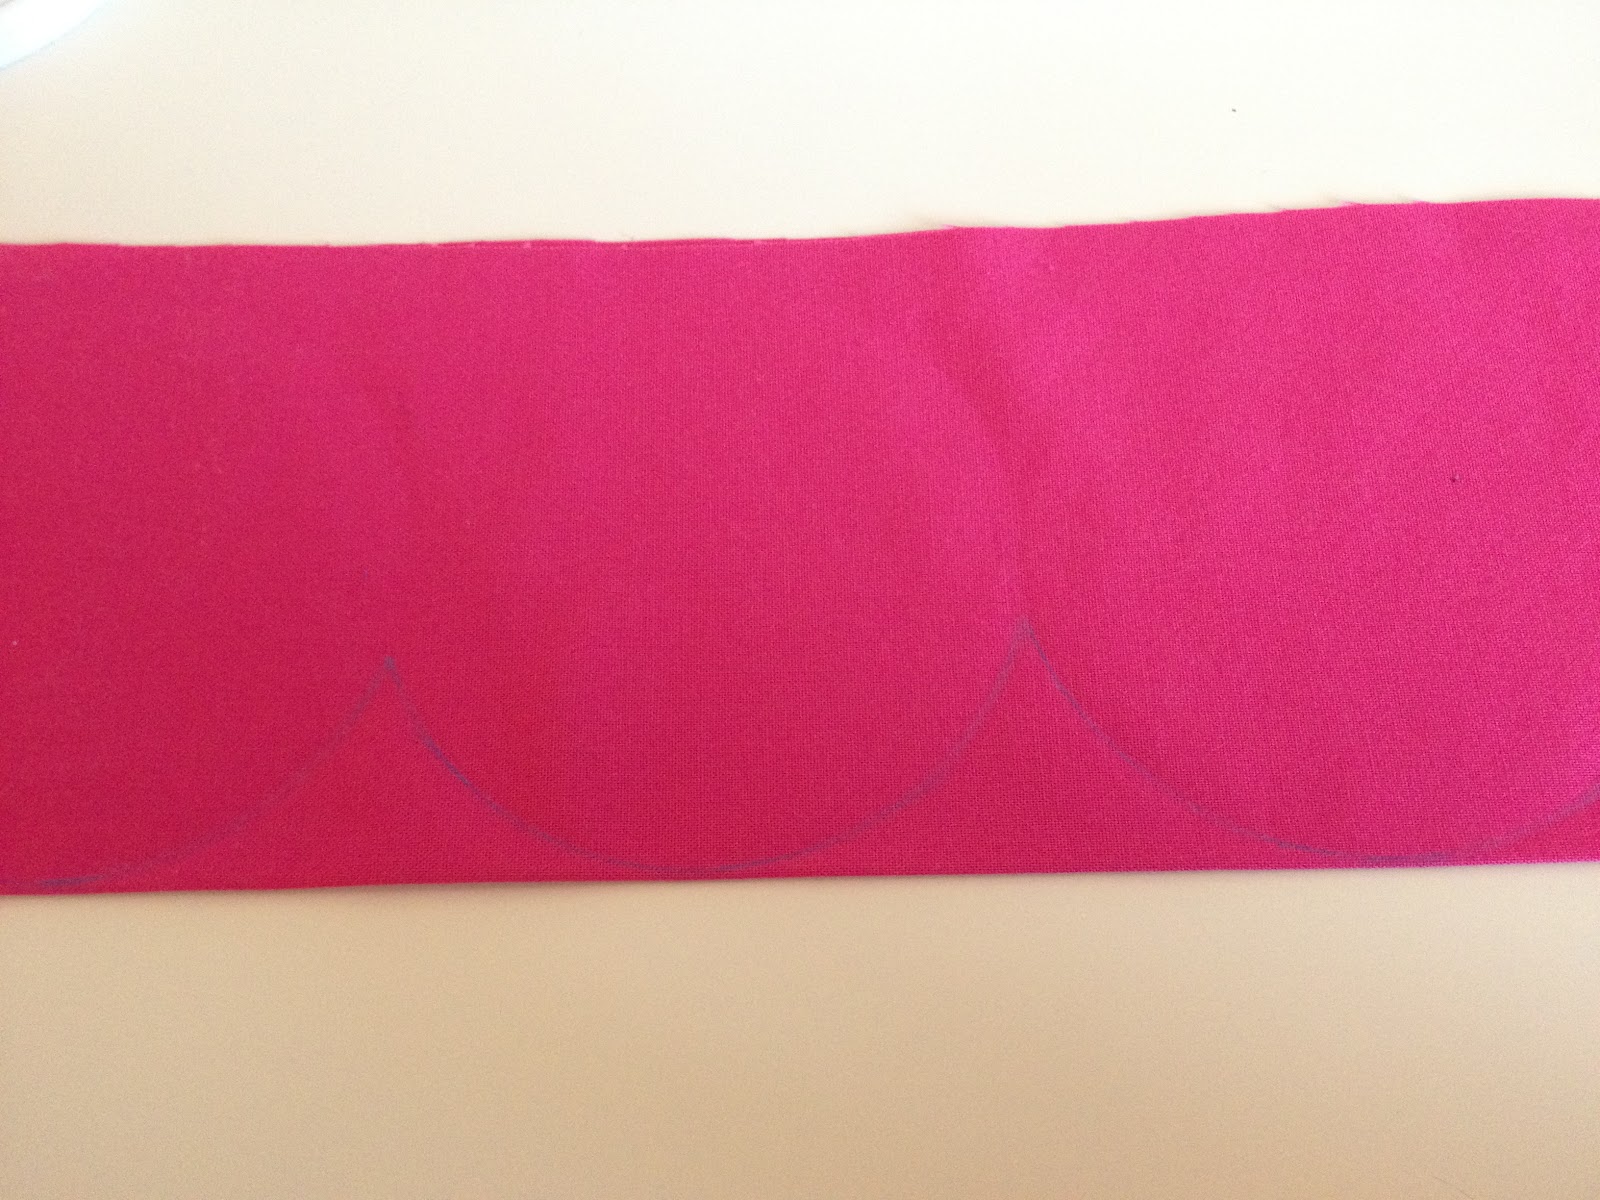
Quick picture of the drawn scallops.

Now sew along the marks you drew.

Cut out the extra space between scallops and clip your curves being careful not to cut your thread. Pinking shears make this was easier and faster than cutting and then clipping curves! If you don't have them, go buy some! Seriously, so easy!! In the picture above you can see that I did not draw my lines all the way to the bottom. I also didn't find it necessary to cut that little bit on the bottom. Do make sure that you take regular scissors and cut in between the scallops a little more. This helps with the puckering when you turn it right side out.

Turn right side out and iron.

Open up your ends (you can leave the rest right side out, just flip each end scallop wrong side out). Line up your two short end wrong side out and pin them together.

Sew them together.

Flip right side out and iron.

Here you can see that my scallops lined up perfectly with my seams. Still don't how I got that lucky!
Now we are going to add the band to our dress.

Make sure to line up the seams of the band with the seams of the dress and then continue to pin all the way around. We are pinning them right sides together. Your band shouldn't matter what side you use but make sure to pin it to the right side of your dress. I just chose which side of the band I liked the best (which one showed the least amount of puckering).

Now straight stitch all the way around.

Finish your raw edges. I don't have a serger so I use the zig-zag setting making sure one side is just off the edge so it pulls in the raw edge and leaves a nice finished look.


Iron your dress so that the seam is facing up.

Now top stitch all the way around and you are done!
Yay for my first tutorial!! I'd love some feedback. If I did an okay job I may try to do more. However I am more of a follow a tutorial kind of girl than write my own. Maybe I should start posting links to the tutorials I follow and share a few pictures of my finished products instead.
posted by Christine @ 8:03 PM
0 Comments
![]()


0 Comments:
Post a Comment
Subscribe to Post Comments [Atom]
<< Home